
 by
by Peter Robbins, 27 July 2026
I was pleasantly surprised to see a new DLC of brand new campaigns for Strategic Command WWI come out. The Strategic Command series of wargames is one of my favorites at this scale, as it remains simple to play and manage, but feels very educational in its scripting capabilities. In other words, don’t let its ease of play fool you into thinking it does not have depth.
It has a lot of research packed into it, and the scripting built into it around events, and unique decision tree mechanisms, is a brilliantly simple approach to wargaming as a whole. Battles For Ypres is very appropriately titled, as this particular region of Belgium was fought back and forth over the span of the entire war.
What’s In The Box?!
| Per Steam:
First Ypres (19 October – 22 November 1914) Second Ypres (22 April – 25 May 1915) Messines Ridge: Prelude to Third Ypres (7 – 14 June 1917) Third Ypres (31 July – 10 November 1917) Fourth Ypres (7 – 29 April 1918) Fifth Ypres (23 September – October 1918) |

Game Specs
|
Excuse the copy/pasta above, but it’s easier than having to flip flop over to the DLC’s store page. I want to first extend this to point out that there are individual guides which include both design notes and tips on how to approach the strategy involved in each offered scenario.


click images to enlarge
Scenario Example
First Ypres (19 October – 22 November 1914) (Wikipedia)
Per my usual approach of late, I tend to feed GPT pics of the operational situation, the PDF “guide” for the scenario, and the user manual for Strategic Command WWI, and then it has a significant amount of context to quickly form an Operational Guide, as seen here:
AI CONTENT BEGINS
Operational Guide stored on Google Drive
AI CONTENT ENDS
The reason I primarily use AI at this early stage of approaching a scenario is, that it never fails to take into consideration at least one assumption or risk that I did not consider on my lonesome.
The portion that I will copy here for ease of reviewing is the compressed commander’s intent, as this is a good simple guiding light to shine on all of your decisions as a player.
Commander’s Intent — Condensed
- Purpose: Prevent a German operational breakthrough in Flanders and preserve the Entente’s Channel-facing communications.
- Method: Conduct a layered, elastic defense centered on Ypres and Gheluvelt; anchor the northern flank at Furnes and the Yser; secure the southern shoulder through Lille and La Bassée; preserve the BEF; and commit French reserves only at decisive points.
- End State: Ypres, Furnes, and Hazebrouck remain in Entente hands on 22 November, the defensive front remains coherent, and German offensive power has been exhausted.
The best of plans keeps things simple and flexible. The above does that very well, I think at least.
Diving into 1st Ypres now. A good bit of my commentary throughout will be “in-screenshot”.


Let’s slow the roll here, as we are moving up and beyond October 19th, 1914. We’ve only lost one or two units to initial assaults by the Germans but we’ve overall recovered by way of reinforcements from the West in the form of BEF (British Expeditionary Force) units, and from the South by way of French cavalry and Belgian infantry replenishment.
Another good piece of advice generated by the AI was the Player Turn Checklist. That is a tab in the guide, look on the left table of contents in the linked google doc.
I’ll pull over the compressed Turn Checklist for ease of reviewing while we continue to play through a couple more turns of the 1st Ypres scenario.
First Battle of Ypres — Entente Turn Card
1— Objectives
- Ypres
- Furnes
- Hazebrouck
- Lille or Roulers if safely possible
2— Enemy
- Locate German main effort
- Check artillery and HQ concentration
- Check cavalry penetration
- Identify units vulnerable to multi-hex attacks
3— Supply and Command
- Check front-line supply
- Check HQ attachment and range
- Protect HQs, artillery, and supply resources
4— Line Integrity
- Check gaps
- Check retreat routes
- Remove unnecessary salients
- Preserve a second line
5— Ypres
- Infantry in city
- Zillebeke/Gheluvelt covered
- Kemmel/Messines secure
- Route to Hazebrouck open
6— Force Preservation
- Rotate weakened BEF units
- Concentrate French reinforcements
- Use Belgians to anchor and screen
- Use cavalry as mobile reserve
7— MPPs
- Reinforce essential units first
- Avoid long-term purchases with no scenario payoff
- Spend operational movement only for decisive needs
8— Combat
- Attack only for an operational purpose
- Use artillery on decisive targets
- Avoid attacks that expose or exhaust the BEF
9— Reserve
- Keep one reserve uncommitted
- Commit only for objective threat, breach, isolation, or decisive counterattack
10— End Turn
- Mentally play the German turn
- Confirm no unit can be surrounded
- Confirm objectives remain defensible
- Confirm the army can still fight next turn
I may not address ALL of the above items, but let’s at least look at each category a bit here before we get down a dangerous path towards our own destruction here.

One immediate issue is, we’ve lost Ypres, doh! Major issue here, so let’s remedy that if we can as quickly as possible, and then let the troops start to entrench in their rings of stalling defensive lines.


While this fully zoomed out level is abrasive to the eyes (sorry developers, but this could be improved), it is very useful to not only visualize where all of your units are at, on a very wide operational area, but when you click on the counter, boom, takes you right to it fully zoomed in. Similarly in usefulness to the Jump Map of WDS wargames.
The German Main Effort definitely appears to be right at Ypres, which of course was generally expected, but we couldn’t do too much about it short term. Now we are in a waiting and fixing game. Fix the enemy anywhere we can. An overall Fighting Withdrawal where we can, along unfixed lines, and layers of defensive units more thoroughly entrenched than their current state. We had to initially maneuver in a way to block the race to the sea a bit, and start to fix the enemy in a place that we can control the activities of to at least an extent.
HQs seem reasonably positioned for now, and are fully supporting their constituent units. No unnecessary salients, but Ypres is not covered as it has been taken outright at this time. Already addressed above, it may take a few turns to rectify that situation. BEF has had too long to get up to positions, so no worries (yet) on over using them in direct combat at this time at least.

Operation Situation by October 23rd, 1914


We have a good amount of reinforcements now up and center and spread where we need them, but it may be too little too late. Here is where we will stop this First Impressions run through as we don’t want to inundate you with a full on AAR in a quick review of the DLC.
A few main take-aways for players:
- Establish your own Commanders Intent, METT-TC, OCOKA and Sync Matrix. Look those terms up and look at the example I provided in the generated documents for examples of what format works rather well for hobbyist wargamers. It is a set of tried and true military planning artifacts that are easy to understand, and once you establish appropriate context, it is easy to write your own similar documents for playing out a given wargame scenario. It is absolutely worth the time to think it through with this approach.
- Establish your own Turn Checklist, and customize it according to the information you’ve gathered for the artifacts we previously mentioned. For a detailed example see the second tab in the generated document.
- Read the game’s scenario guides several times over before beginning each of them. 1st Ypres is a very difficult scenario for the Entente / “allied” forces. It is a situation where your forces are outskilled, overpowered, outgunned, and almost immediately “on your backfoot”, while still needing to maintain pressure and zones of control in order to at least calmly maintain a semblance of defensive rings, to contain the Huns from spreading unabated towards Paris and potentially across the channel. You have very well seasoned troops in the form of the British Expeditionary Force, a reasonably deep reserve of French, and at least a semblance of a Belgian blocking force to the North. What will you do with these limited resources in order to accomplish that unfortunate need called for throughout history: buy time. This is a great scenario, amidst five additional scenarios of equal worth and detail. This is a solidly produced DLC.
Campaign Gallery
In this gallery we’ll give a quick look at a few varied screenshots of the units involved at the start of each of the five additional scenarios included in the DLC.
Final Thoughts & First Impressions
My overall bias here reviewing this particular DLC is that I love this particular wargame series. I’m a glutton of detailed approachability as I repeatedly say in many of my reviews. The Strategic Command series is for wargamers that don’t particularly like Strategic level wargaming, there I said it. I’m not the biggest fan of larger scale warfare wargames, but this game makes their mechanics easy to manage and roll through a turn with. This particular Battles Of Ypres DLC brings it down about one level overall from some of the larger front line based scenarios in other SCWWI content. I like that “Operational Scale”, where you still have to work at swapping in fresh troops more often and directly take care of replenishment and reinforcements. You get this in this Ypres DLC.
I’ve enjoyed this DLC a bit more over the game’s core content. I’ve had days worth of play out of this one scenario, and I still have a good halfway or more to go with this scenario. That is saying something. And it’s not been easy going, to say the least. And then consider this is one of six scenarios. So, there is a good amount of play-time provided with these newer scenarios and maps.
I feel like the concentration of the DLC on the Ypres area and its 5 overall named “battles”, helped. It gets you to experience similar terrain over time as the operational strengths and available technology and resources shifted considerably to and fro. I personally have enjoyed 1st Ypres as it includes the most initial maneuver warfare of the bunch. But the remainder are equally challenging and fun to undertake. I give this DLC a solid thumbs up. If you still have Strategic Command WWI installed on your system, and you should!; get this DLC.
Article Resources
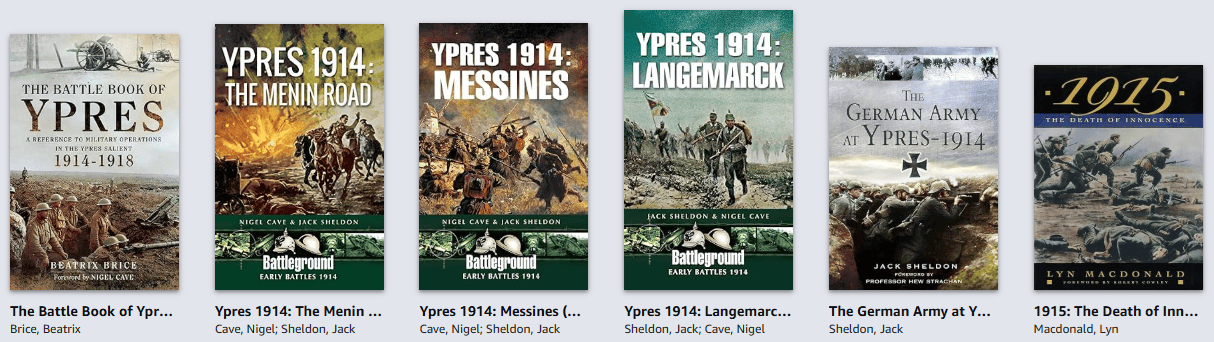
Out of these, the best reads have been the single Battleground series books. I’d picked them mostly up on decent sale and they offer a very good level of detail for the smaller battles that encompass 1st Ypres as a whole.
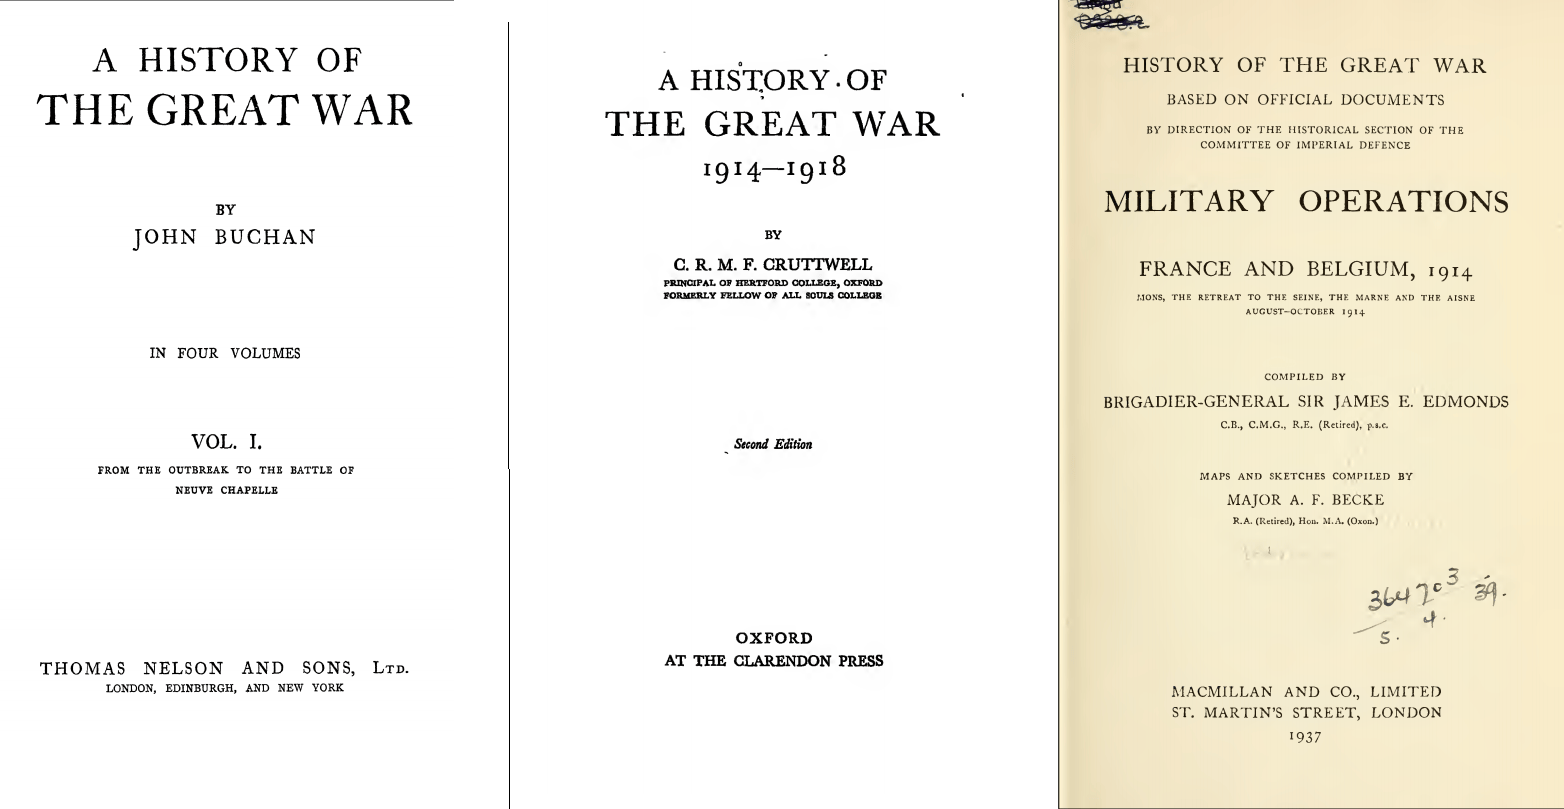
Additional free online books more generally on The Great War, which includes sections on 1st Ypres include:
You can chat about this game in the Modern World section of our discussion forums
Thank you for visiting the Regiment of Strategy Gaming and riding with The Armchair Dragoons.
Rather than list a bunch of social media links, the easiest thing to do is to check out our LinkTree, which connects you to all of our various locales around the web.
You can also support The Armchair Dragoons through our Patreon, and find us at a variety of conventions and other events.
Feel free to talk back to us either in our discussion forum, or in the comments below.


