
 by
by Peter Robbins, 12 April 2026
Our recent video Interview with the main developer of Burden Of Command, Luke Hughes, is located here. Watch the interview first, and then read this AAR for the Full Monty (pun intended) as we did the first turn of the Steel Rain scenario in the video interview. Luke went through the orders system and provided a great many design notes as we talked through the full turn. It is very much worth watching.

Where did we leave off?, oh yeah, we made it to turn 2 of the Steel Rain scenario during our taped interview. So let’s take inventory of what we have and what our intentions are.
A quick set of three closer up shots, followed by one wider angle situational screenshot are below.
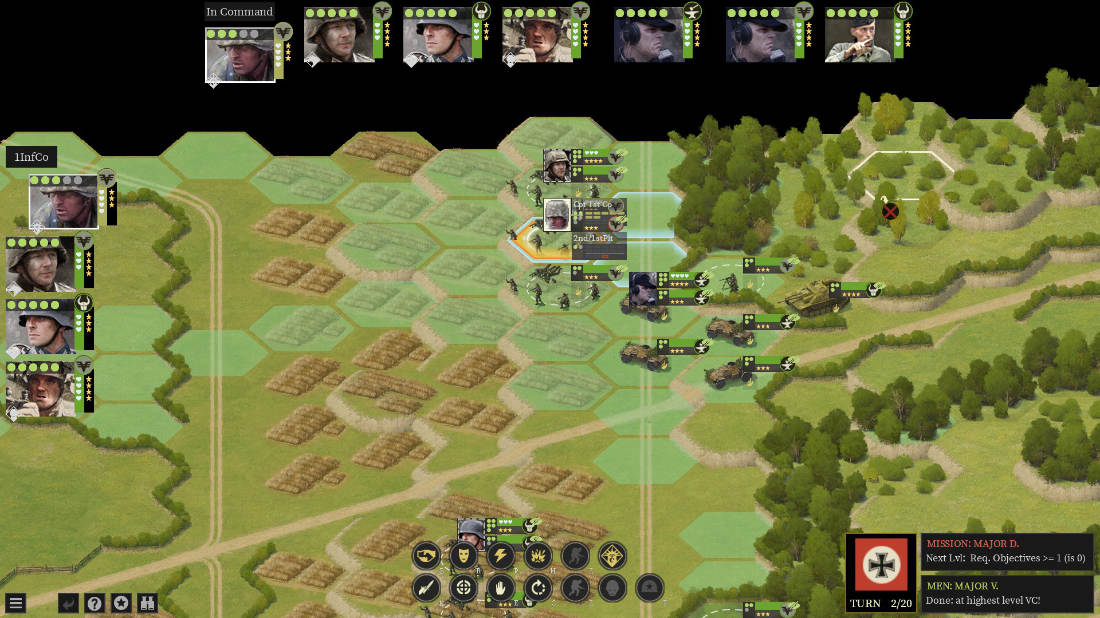
click images to enlarge
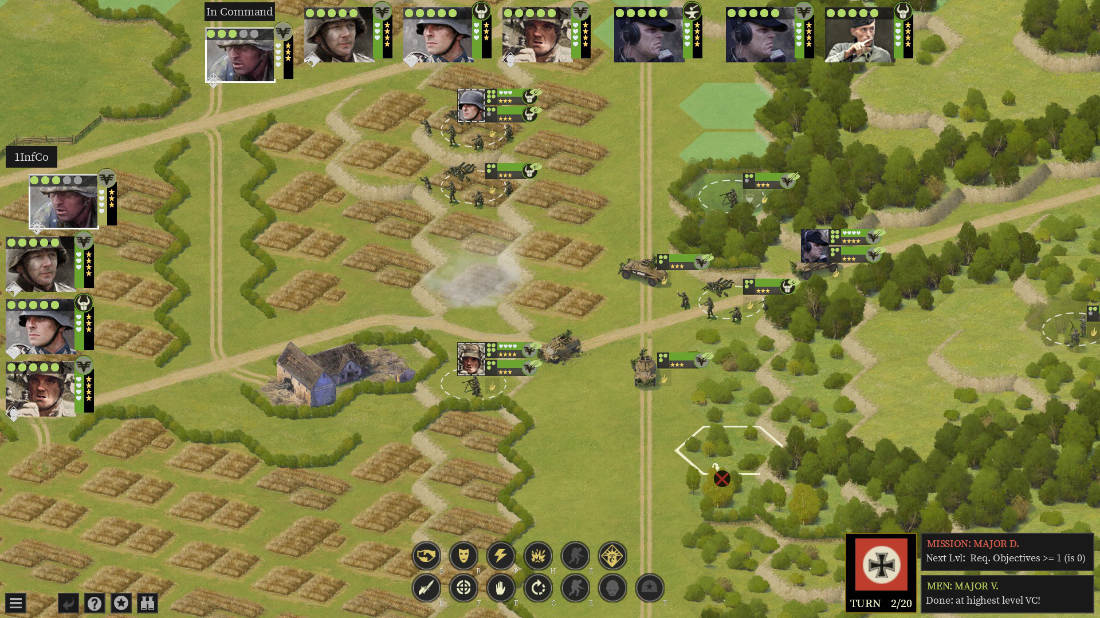
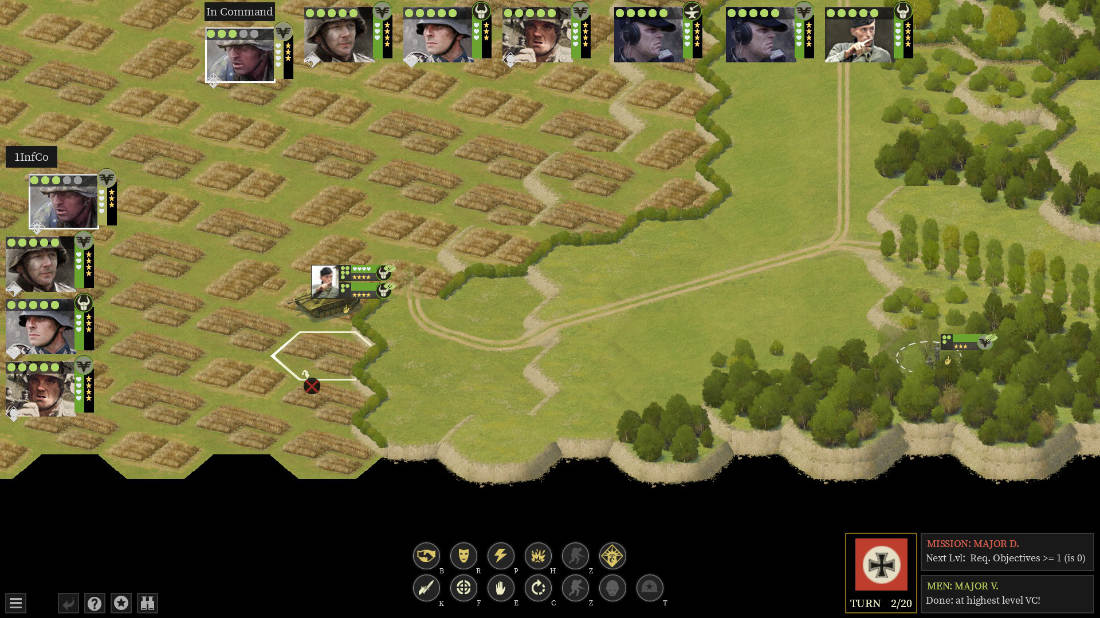
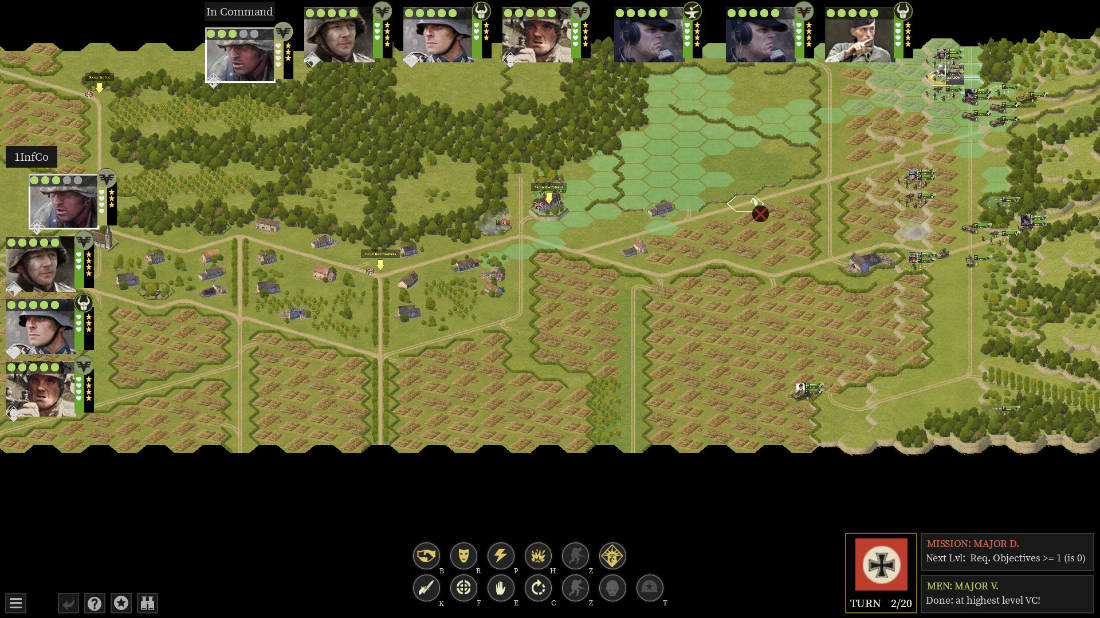
Below is a wider angle shot. Showing you the expanse of open and field terrain in front of the British held objective points. The German forces will very likely need to use smoke screens to mar the spotting of their advancing troops. We have two recon platoons of note, but they are only lightly armored. We do have a Stug based armored platoon that will help against anything with a strong punch in front of us, but still, in the wide open terrain involved, this approach will be difficult against 1:1 combat forces or even 2:1. We’ll see how things progress as we move through the 20 turns.
Gameplay
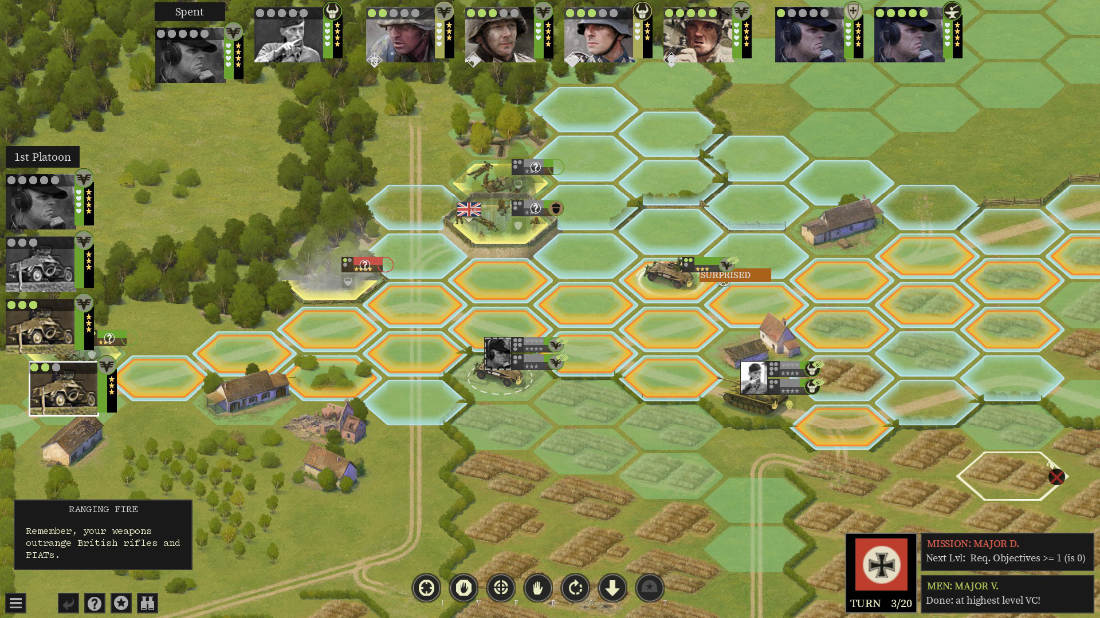
Take note at the top row of Leader images. And their top lines of Green colored circles.That is a key visual indicator throughout a full Turn. Each side swaps activating Leaders, not units. Each Leader is usually a Lieutenant. There is also an overall Commander per side, and that is usually a Captain.
This is an extremely unique computer wargame in that the phasing is very dynamic, and based upon the leaders activating squads or elements/sections in their platoon, or in the case of the Captain, within any of the platoons of the company involved in the scenario. The Captain can be used during any Lt.’s phasing (as long as the Captain still has orders to expend). But only ONE Lt can spend their tokens to activate an underlying Squad of the overall Platoon. Hope that makes sense.
If you watch my interview with Luke, you’ll see the game in action, and it will make more sense. What is really unique about this is, you do not have to spend all of your orders at one time. You can pass to the other side, move on to another leader, pass back to the enemy again, then come full circle back to a leader you’ve already expended orders for, and so on until you run out of orders for all of your leaders and your commander.
Such a simple idea, and it works well; it just feels different. All this and a rather sophisticated suppression and morale system; with generally realistic rallying mechanisms and bolstering by leadership. It’s pretty damn solid. I would classify this wargame as a War Experience, that just so happens to have a really well thought out “game” underneath.
The way I would describe Burden Of Command to someone on the edge of diving into it is this:
Burden Of Command is as if Advanced Squad Leader had a really strange kid with XCOM and Shadowrun Returns. And the result is one must-play bastard of a role-playing-tactical-ww2-war-game.
I hope that Luke and company take that as a compliment, as it’s meant to be.
Visual Indicators For The Player
- Top row images are Leaders, showing the number of remaining orders each has left for the current turn.
- The Left hand column of images shows which Leader is activated currently, and the units that are subordinate to it. If both a leader and a squad are activated, both will have a white border to their image.
- A squad or squad + leader that is currently acting out orders, slides or indents to the right a bit, as if it was tabbed over visually.
- Any red colors on the unit, is an indicator of something not quite right. Avoid combat or being in the open with them this turn if possible.
- Anything yellow in color, is teetering towards Red. They likely can fire ok, with only reasonable odds, but are at least likely to suppress the enemy.
- Anything with all green indicators is doing well, and with additional Bolster actions by their leader are the best squads to push with this turn.
Some supporting pics from the Field Guide are below, as far as the unit and leader counter indicators go:


The full in-game Field Guide exported as a single PDF file is here (worth reading in full)
Military Planning For The Hobbyist
I’d recently posted this Simple Wargaming Planning Guide in another article, which includes several sets of planning questions to use while playing any computer wargame or boardgame of choice.
I’m going to stick with Apoc’s Three Steps For Military Planning:
- Understand the area that you’re fighting in (physical terrain, weather, human terrain)
- Understand the enemy that you’re fighting (capabilities, their mission/what they must do/how they will do it)
- Determine what we will do (what MUST we do/higher tasks, how will we array our forces in time and space, what is our end-state condition / how do we prepare ourselves to transition to the next mission)
Note: Apoc is a soon-to-be-retiring Major in the US Army.
Thank you Apoc for providing this set of easy to use questions for hobbyist wargamers! Apoc runs the TankSim Discord server.
Some Extended Questions To Consider
Operational Environment (Step 1)
What are all of the environmental factors that are aiding or inhibiting our ability to carry out the mission and achieve the End State implied or directly stated as the Commander’s Intent? Have we properly considered all of the domains involved?
Enemy Capabilities & Most Likely Course Of Action (Step 2)
What do they have available? How do we think they will use their resources? What is the worst case scenario? What is the most likely scenario? What are the risks they are willing to take? Where are their decision points likely to be? What are their likely contingencies? How can we use this information to our advantage? How can we obtain enough intel to be able to stop their intentions? How do we avoid being deterred or deceived? How do we maintain detection while blinding theirs?
Friendly Concept Of Operations (Step 3)
How do we synchronize all of our capabilities in a way that suppresses the enemy from achieving their goals? How do we create the End State we are looking to achieve? How do we deceive the enemy into not knowing our intentions? How do we execute our plan in a timely and coordinated manner to keep the enemy on their back foot? How do we keep the enemy reacting, instead of acting? Can we make a sync chart of who|what|when|where|why|triggers to help in planning the concept of operations? Will a visual of the conops help? (using military symbology on YouTube here)
The Four Fs
- Find: Locate the enemy through reconnaissance, intelligence gathering, and surveillance.
- Fix: Pin the enemy down with suppressive fire to prevent them from moving, retreating, or effectively returning fire.
- Flank: Maneuver to the enemy’s side or rear to exploit their vulnerability while they are “fixed”. Some variations use “Fight” to describe the combined use of fire and maneuver.
- Finish: Deliver a final, decisive assault to destroy the target or force a surrender.
Back To The Scenario
A Couple Quotes
One of my favorite military planning quotes:
“The old adage is, if you find yourself in a fair fight, you didn’t plan it properly.” (Mike Dunn, GUWS Workshop: Wargaming & The Military Decision Process – July 7th, 2021)
Another practical quote is from the front of the Littoral Commander Indo-Pacific Rules:
“We can do this by developing simple, flexible plans; planning for likely contingencies; developing standing operating procedures; and fostering initiative among subordinates.” (US Marine Corps Doctrine Publication (MCDP) 1: Warfighting)
But always keep in mind from Eisenhower:
“Plans are worthless, but planning is everything.” (Dwight D. Eisenhower, Remarks at the National Defense Executive Reserve Conference November 14, 1957)
And this oldie but goodie from Moltke (1871):
“Kein Operationsplan reicht mit einiger Sicherheit über das erste Zusammentreffen mit der feindlichen Hauptmacht hinaus.” – No plan of operations extends with any certainty beyond the first encounter with the main enemy forces.
The Environment
Ok, let’s break down all of the environmental factors at play in game terms and functionality. It may feel like gaming the game, but in some ways, even in real life, this is the case. (See: Mike Dunn’s quote further above). The weather is overcast. I also don’t sense much in the way of weather making too much of a difference in how the terrain plays out, movement wise, or cover, or visibility wise even. The time of day is morning. I’m not seeing it mentioned as dark-thirty. Nor are there any indications in the scenario initial start up of any hindrances as such. Terrain-wise, we are entering the area of operations from East towards West on the given map, and we are currently on higher ground, moving towards what are likely hastily prepared positions near the manor house and beyond. Some farm structures at best are nearby and offer some cover for the approach. Otherwise, there is at least what appears to be unharvested crops. The terrain guidance in the BoC Field Guide (in-game help) does not really treat the farm land terrain as any different than open terrain; though I’ve definitely felt more effect of enemy fire when in an open hex.
The Enemy
What does the scenario’s description, in-game intel, or any markers or indicators give us any idea of what we are up against and what their disposition or intent may be?
Honestly, not much. The main clues are the objectives themselves, but also at the start of the scenario we see these Yellow markers showing likely enemy positions.

We have no real indication of what we are up against as far as enemy size of force, or available resources on hand. We can expect hastily made defensive positions likely at the crossroads and the Manor House, just by guessing those are more readily defensible positions.
Our Intent
For the exact commander’s intent and specific objectives in a Burden Of Command scenario, as you saw in the taped interview, you click on the two rectangles on the bottom right of the screen, and it spells those out pretty clearly. I honestly didn’t know until I chatted with Luke that I could even click on them! Doh! There is a Mission objective. And there is a Men objective.
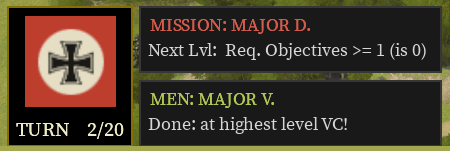
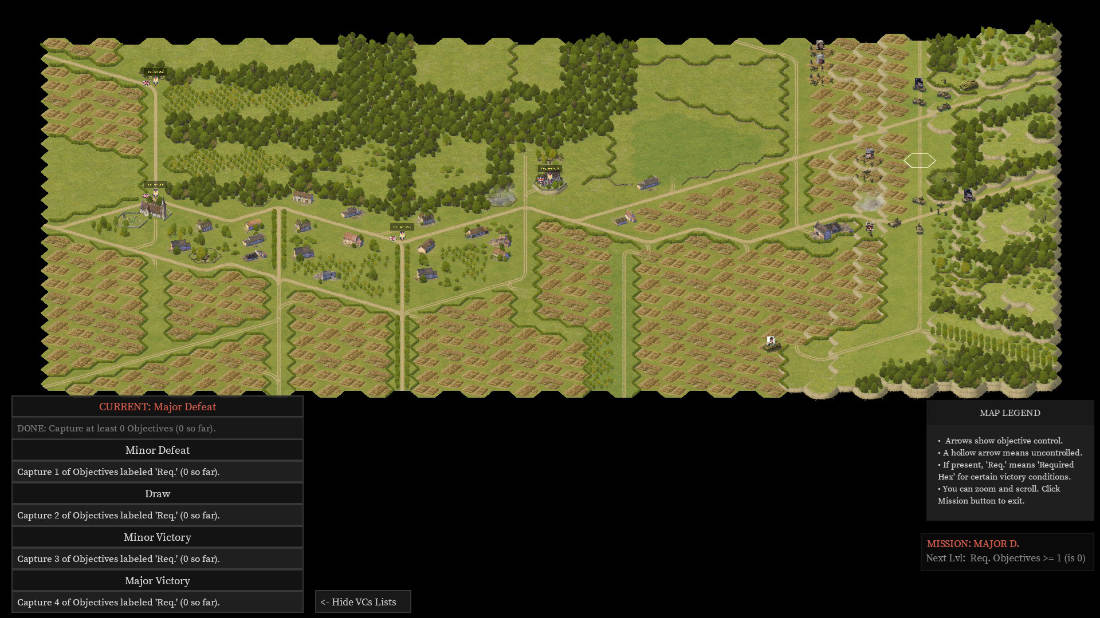
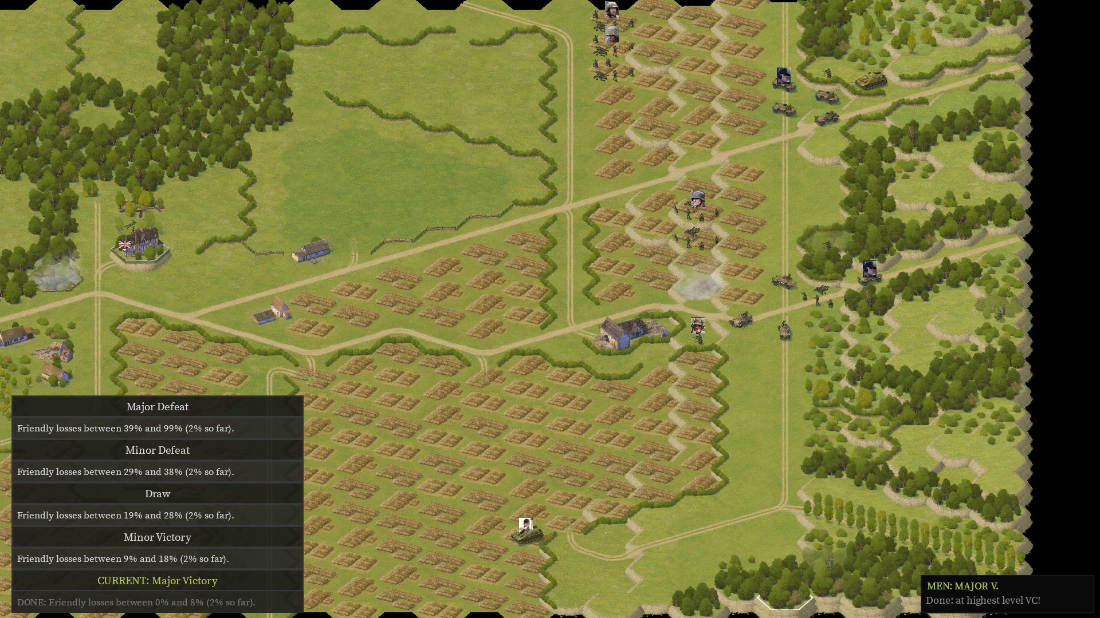
So, we’ve done an initial check of these objectives current state, let’s agree to check it every 5 turns otherwise to keep track of how things overall are looking.
Start Of Turn 3


A recon platoon shows up at the start of Turn 3 in larger armored vehicles than the other two on hand. So this is a good addition to the overall forces on hand.

Start Of Turn 4
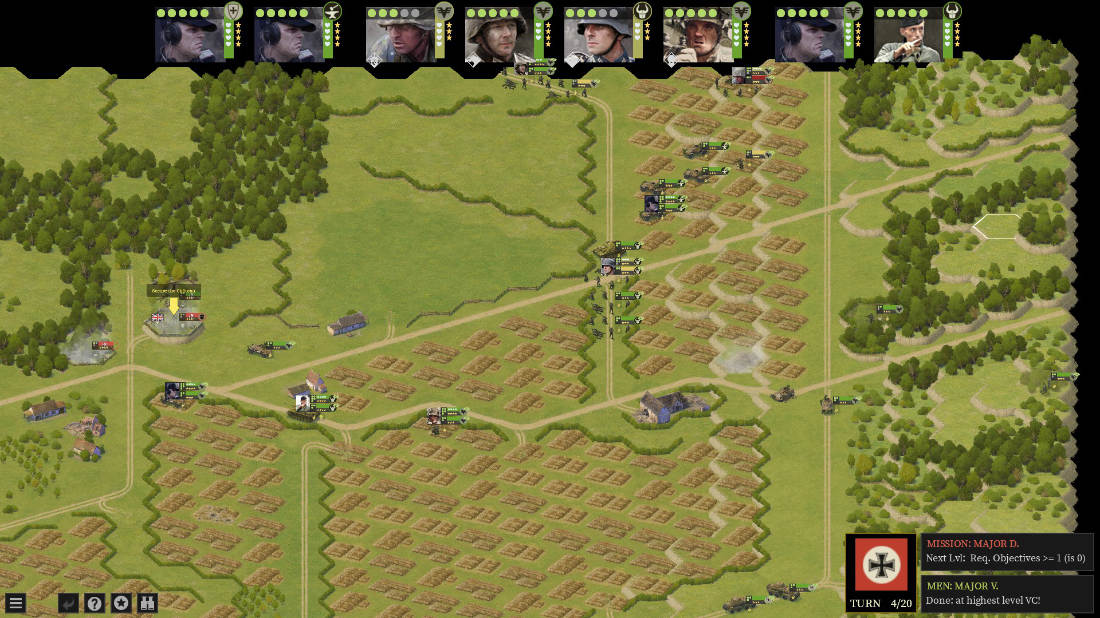


Start Of Turn 5
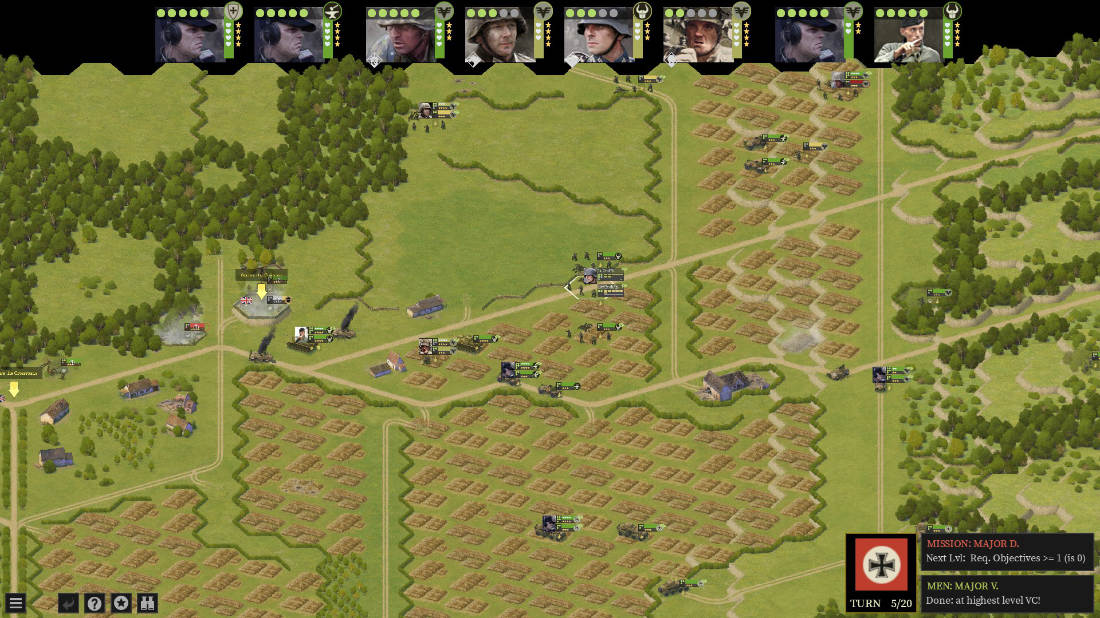
Below is closer up near the Manor objective. Our 2nd killed recon vehicle hit a mine that the Brits nefariously laid at the crossroads ahead of the manor house structures.

Start Of Turn 6
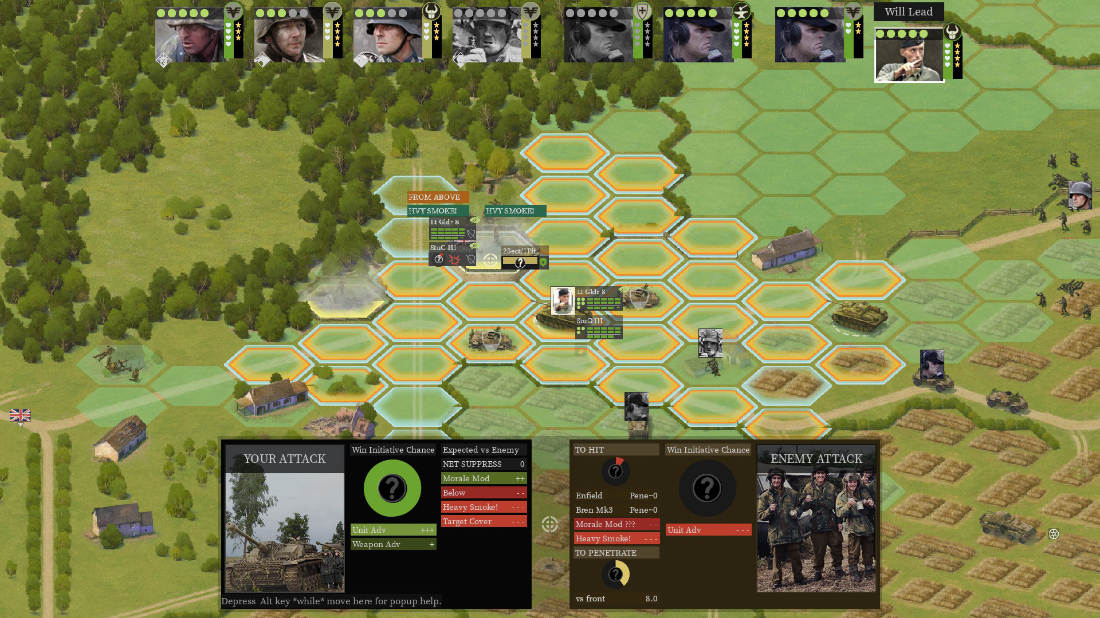
By the start of Turn 6 of the Steel Rain scenario, we’ve suppressed the bejeepers out of the enemy in the Manor House, we are ready for assault, but having issues getting enough Fresh infantry in place for an assault. I feel almost as exhausted as the virtual men I’m commanding as this game has a tense, plodding feel to it that I don’t get out of many other squad level tactical wargames. And I mean that as a complement, as you get “involved” in Burden Of Command. That is the best way to describe it. The main focus being on the Leaders involved, and their affect on the results. Morale, expediency, and overall survival of their men through the combat, becomes more important than, or at least directly entwined with the objectives at hand. This is one of the only wargames I’ve played that has separate measurements of victory in terms of both Men and Mission. Yet again, emphasizing the focus of the game, which is on the leaders involved, and the sacrifices they and their soldiers have to make to gain that next patch of earth. Survival is the key here as much as accomplishment of objectives. As you complete phases of your plan in this game, you feel a sense of accomplishment. That is the sign of a good game.
Below is the situation as we end this review.

I don’t want to give away too much more as I’d rather have the reader go buy the core game with the DLC; which is currently at least on sale at a price that is lower than the original game retailed for. I whole-heartedly recommend Burden Of Command for anyone that enjoys squad level tactical wargaming, AND role-playing. Anyone who enjoys both, and is willing to sit back a bit and experience a game as much as play it, this is a game for you. If you don’t like new and exciting forms of game-play, this still is a game you should give a chance to warm up to. Luke mentioned to me in our conversations that most reviews from anyone giving it only a few hours of play time are much lower than any that stick it through and chug on, just like the soldiers you portray in the game. The game will reward you ten fold if you stick with it.
You can chat about this game in the Modern World section of our discussion forums
Thank you for visiting the Regiment of Strategy Gaming and riding with The Armchair Dragoons.
Rather than list a bunch of social media links, the easiest thing to do is to check out our LinkTree, which connects you to all of our various locales around the web.
You can also support The Armchair Dragoons through our Patreon, and find us at a variety of conventions and other events.
Feel free to talk back to us either in our discussion forum, or in the comments below.

