
 by
by Greg Johnson, 12 May 2025
On the night of April 18th, 1775 two lanterns were hung briefly in the tower of the Old North Church in Boston signaling the route of a British force ordered into the countryside to search for hidden munitions. The target of the expedition was Concord Massachusetts where it was reported a cache of arms and cannon were hidden.
The British column entered Lexington Massachusetts at 5 a.m. to find a small group of militia assembled on the green commanded by Captain John Parker. As the British slowly advanced to drive off the militia, Captain Parker ordered his men to disperse. The sound of a shot echoed across the field and the British opened fire killing seven and mortally wounding one. The British reformed into march column and moved on to Concord.
The Scenario
The British forces have orders to get to Colonel James Barrett’s farm to search for hidden munitions. The British arrive in road column on the bottom edge of the map (see photo) at 7 a.m. and need to get to the Barrett farm at the other edge of the map.
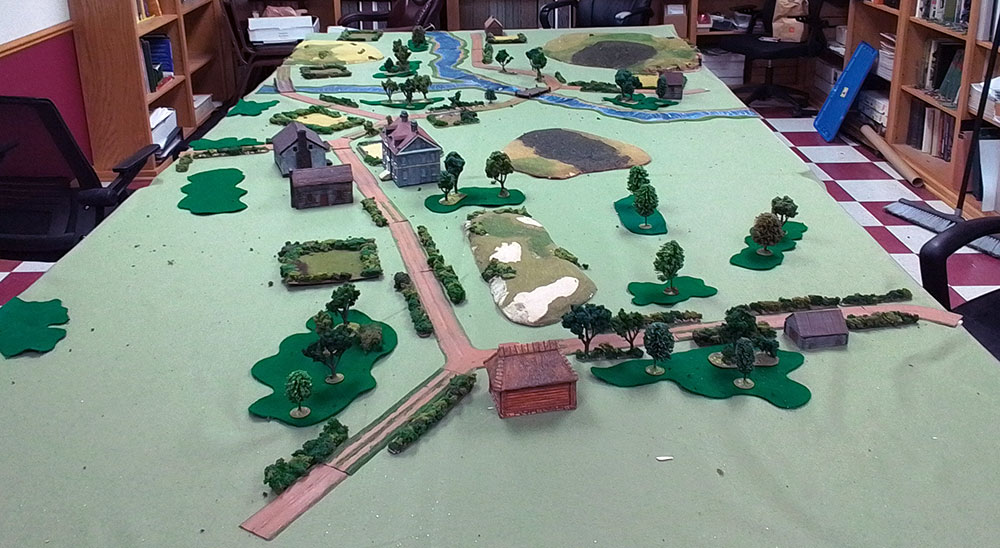
click images to enlarge
British Forces
|
Militia Forces
Initial Forces
Reinforcements
|
Special Rules
Upon entering the game, each Militia unit rolls a D6. A result of 5 adds one stand to the base unit strength. A result of 6 adds two stands to the base unit strength. A result of 1 subtracts a stand.
Setup
The Concord Militia are setup on the edge of Concord.
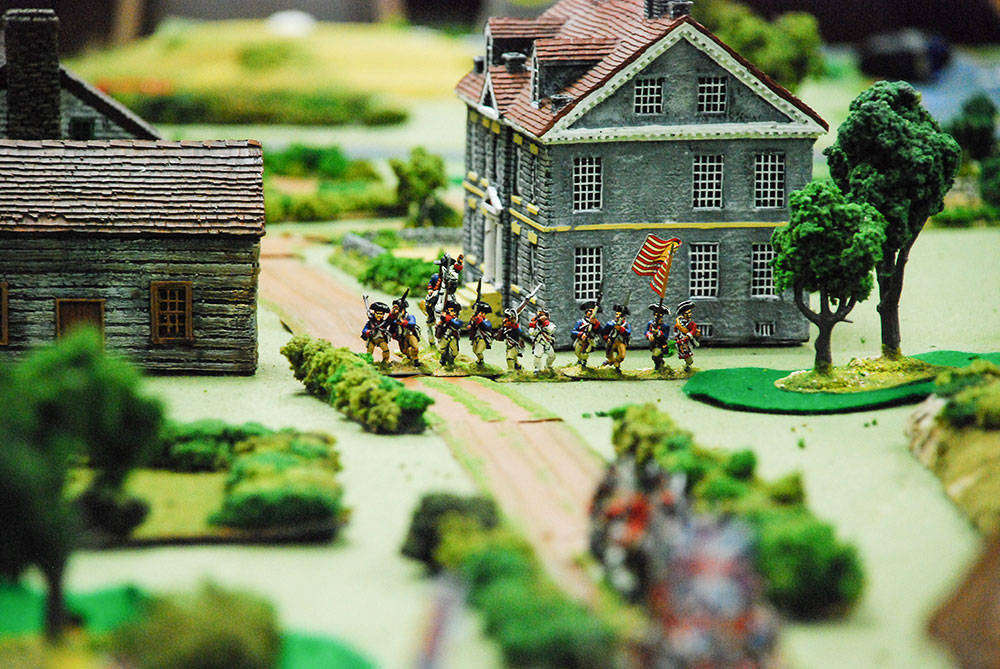
The Westford, Acton, and Lincoln Militia begin entering the map in the corner behind the hill, where the Muster Field was located, overlooking the North Bridge.
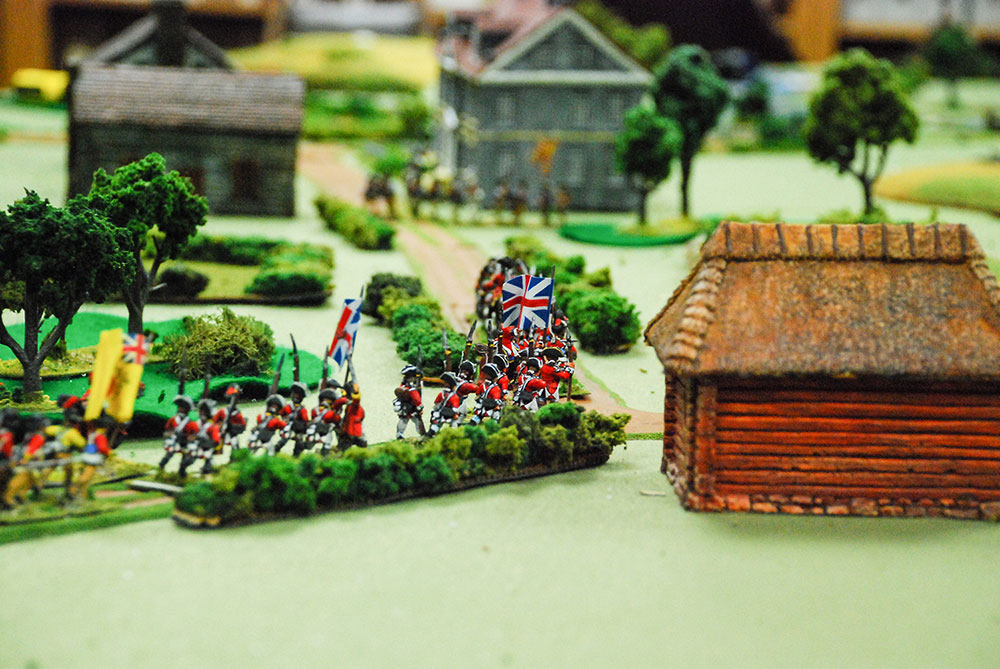
The British are setup on the road leading to Lexington in road column with the Light Infantry in the lead, followed by the Grenadiers, and them the Foot Companies of the 43rd, 4th, and 10th Regiments.
The Rules
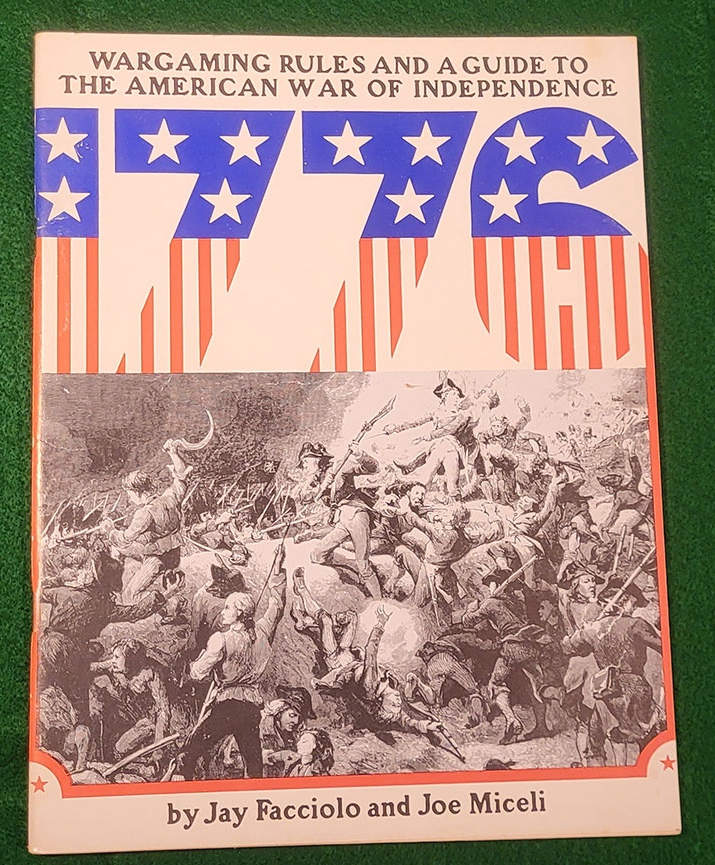
We used 1776 by Jay Facciolo and Joe Miceli published in 1976 by Creative Wargames Workshop.
Scale is 20:1 or one figure represents 20 men. Each turn represents 15 minutes of time.
Percentile dice are required to resolve results.
Turn Sequence:
- Assign tactical orders to each unit. Orders are Charge or Move.
- Declare and resolve any charges.
- Movement: movement is simultaneous or each side moves.
- Artillery Fire: fire is simultaneous.
- Small Arms Fire: fire is simultaneous
- Morale: any unit that suffered a casualty checks morale.
- Melee: resolve and melee combat from results charge actions.
- Post Melee Morale.
The Game
The British begin by splitting their forces. The Light Infantry and Grenadiers start by forming into line and marching toward the Concord Militia on the outside of town. The 43rd, 4th, and 10th Foot Companies split off and start an over land march around the North of Concord moving to the North Bridge.
The Westford, Acton, and Lincoln enter the board marching in field column toward the North Bridge with the objective of getting there before the British.
The British Light Infantry and Grenadiers move close to the Concord Militia and a sharp firefight begins that lasts for several turns. The Militia cause a casualty to the Light Infantry and one to the Grenadiers. In return the Concord Militia take three casualties and start a fighting retreat. After taking three turns of fire, the Concord Militia lose cohesion and become demoralized. They break into a run to the west toward the South Bridge.
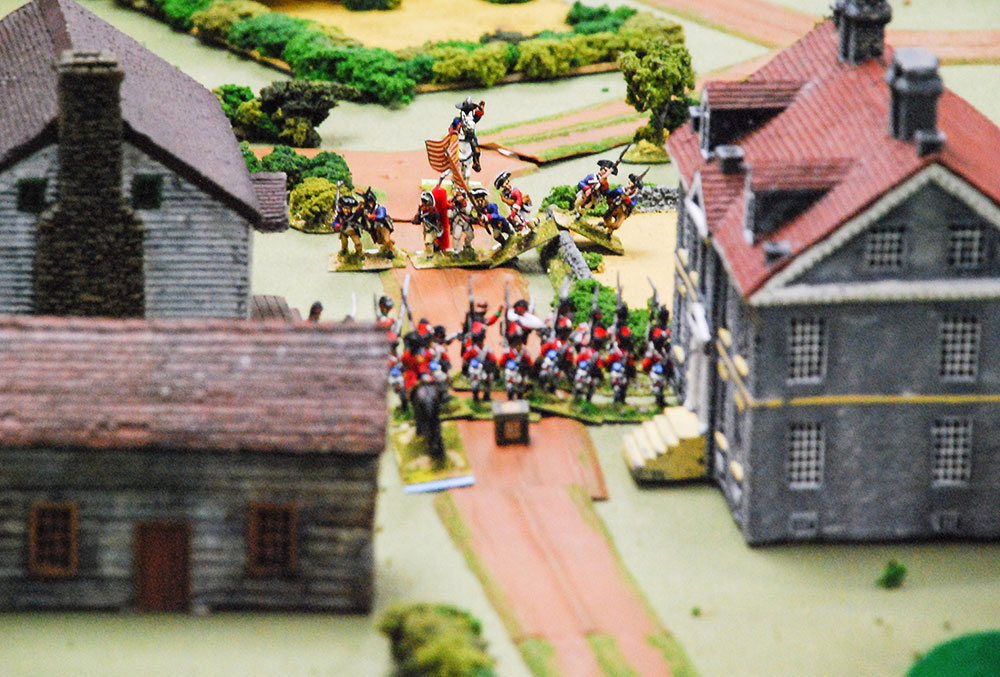
The Acton, Westford, and Lincoln Militia arrive at the North Bridge and decide to cross and try to form a defensive line.
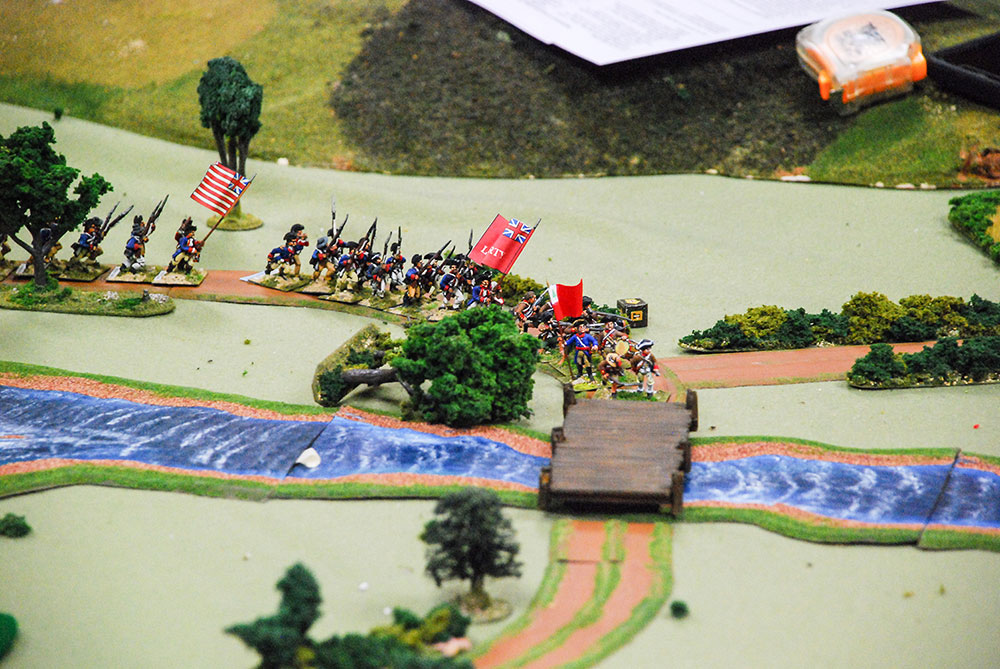
The British Foot Company columns that are skirting North of Concord now have the North Bridge in view and find that the lead Militia units have begun crossing the North Bridge and forming a defensive firing line. The British form up and move forward into musket range, small arms fire erupts from the Milita with no effect. The British return fire causing a casualty on each of the front militia units.
The Bedford and Sudbury Militia start arriving on the road the runs North along the river.
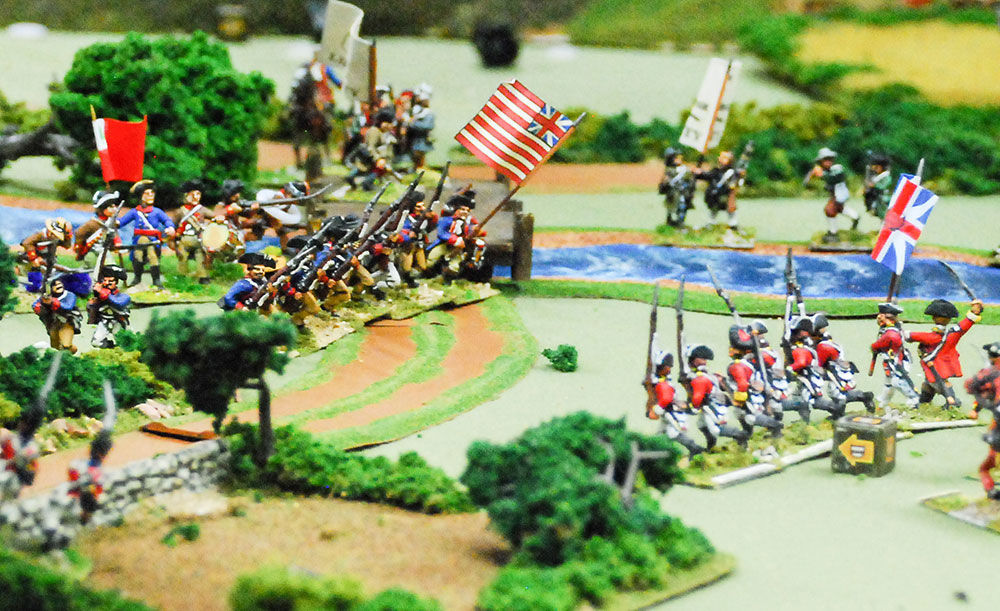
Seeing the arrival of the additional Militia units, the British Company of the 4th Foot charges the Acton Militia, which is closest to the river and bridge, to try to cut off the Westford and Lincoln Militia units. The Acton Militia stand fast in the wake of the British charge, fire a solid volley into the 4th. The 4th Foot takes a casualty, falters, and decides it is time to leave and rout to the rear.
The 43rd and 10th Foot companies engage in small arms fire with the Militia as the Light Infantry and Grenadier companies advance from Concord to the North Bridge. Upon arrival on at the North Bridge the Light Infantry and Grenadier companies charge the Westford and Lincoln Militias. Both Militia units have had enough and rout back over the bridge which causes the Acton Militia to flee across the bridge.
The Beford and Sudbury Militia arrive and to form a line on the west side of the bridge to cover the retreating Militia.
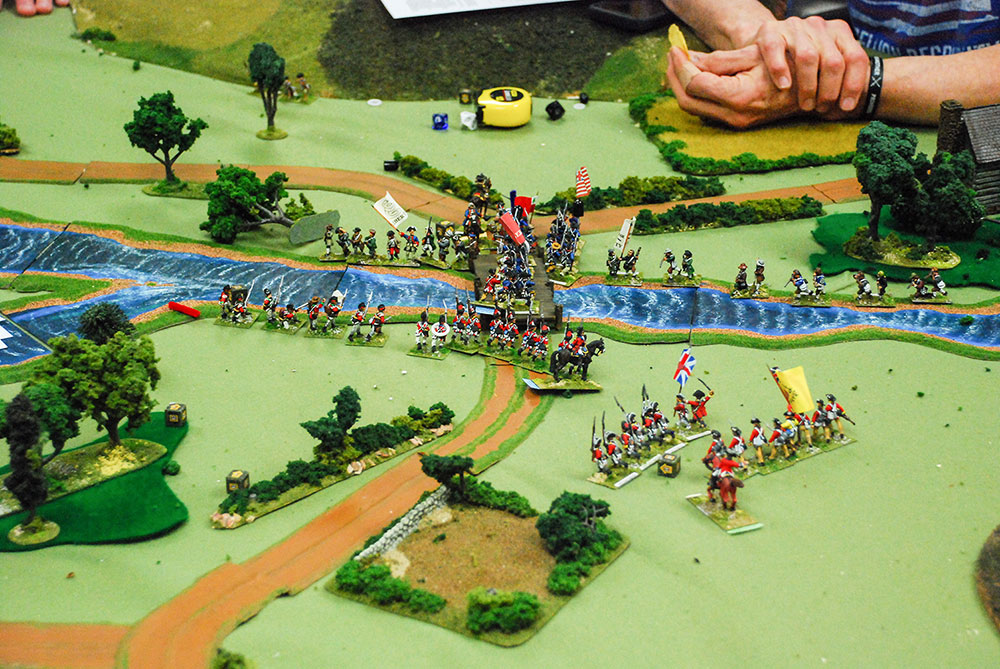
At this point, the British decide there are too many militia units to be able to drive across the bridge to and march to the Barrett Farm.
The game ends with a Militia victory.
Thank you for visiting the Regiment of Strategy Gaming and riding with The Armchair Dragoons.
Rather than list a bunch of social media links, the easiest thing to do is to check out our LinkTree, which connects you to all of our various locales around the web.
You can also support The Armchair Dragoons through our Patreon, and find us at a variety of conventions and other events.
Feel free to talk back to us either in our discussion forum, or in the comments below.


